Since Google made the change to its ranking system for sites who use HTTPS instead of HTTP, finally websites started going over to the encrypted protocol. But instead of buying expensive certificates Let’s Encrypt solves this problem for us at zero cost.
So we are going to go through how to setup an NGINX server and use Let’s Encrypt to generate a certificate for us and also use certbot so we can automatically obtain a new certificate when it’s going to expire.
This is a smaller tutorial and it actually doesn’t take too much time and effort to get it started but I thought it could be useful to share here as clear as possible all the nececssary steps to get it up and running. I will also share a shell script that will automate this process as much as possible if we need to start from scratch. It will be easy to just run the script again.
Setup script for installing NGINX
Login to your VM that you want to use to install NGINX on. We need two files in order for this script to run, we will create first file on VM called install_nginx.sh and put this code inside it:
#!/bin/bash
# This script is intended to setup the environment for a NGINX Web Server with SSL certificate using Let's Encrypt.

clear

PROJECT_DIR="/etc/nginx/sites-enabled"
CURRENT_DIR=$(pwd)
DOMAIN="example.com"
EMAIL="foo@bar.com"

# Get latest updates
echo ""
echo "UPDATING SYSTEM..."
echo ""
sudo apt update

echo ""
echo "###### RUNNING NGINX SCRIPT ######"
echo ""

function install_nginx
{
 SOFTWARE="nginx"
 QUERY="$(sudo dpkg-query -l | grep ${SOFTWARE} | wc -l)"

 if [ "$QUERY" -eq 0 ]; then
  echo ""
  echo "INSTALLING NGINX..."
  echo ""

  sudo apt -y install nginx

  # Setup configuration file
  sudo cp $CURRENT_DIR/$DOMAIN $PROJECT_DIR/$DOMAIN

  # Setup and configure Certbot
  sudo apt -y install certbot python3-certbot-nginx
  sudo certbot --nginx -d $DOMAIN --non-interactive --agree-tos -m $EMAIL
 else
  echo "${SOFTWARE} is already installed. skipping..."
 fi
}

install_nginx
Let’s go through the first shell script what it does.
clear

PROJECT_DIR="/etc/nginx/sites-enabled"
CURRENT_DIR=$(pwd)
DOMAIN="example.com"
EMAIL="foo@bar.com"
We start by clearing the screen to get more space on the console. Then we add four constants we set the PROJECT_DIR as the directory where the configuration files should be located. Then we obtain the current directory we are in and set it to CURRENT_DIR. We set our domain constant and the email that should be associated with obtaining the certificate.
# Get latest updates
echo ""
echo "UPDATING SYSTEM..."
echo ""
sudo apt update
Here we obviously update the package list of the system before proceeding to install the software.
function install_nginx
{
 SOFTWARE="nginx"
 QUERY="$(sudo dpkg-query -l | grep ${SOFTWARE} | wc -l)"

 if [ "$QUERY" -eq 0 ]; then
  echo ""
  echo "INSTALLING NGINX..."
  echo ""

  sudo apt -y install $SOFTWARE

  # Setup configuration file
  sudo cp $CURRENT_DIR/$DOMAIN $PROJECT_DIR/$DOMAIN

  # Setup and configure Certbot
  sudo apt -y install certbot python3-certbot-nginx
  sudo certbot --nginx -d $DOMAIN --non-interactive --agree-tos -m $EMAIL
 else
  echo "${SOFTWARE} is already installed. skipping..."
 fi
}
We now created a function install_nginx. We define the software that will be installed and we do a query on the system to see if we already have that software installed, if we do we just print out a message that it has already been installed.
Next if not installed, we installing the software and adding the flag -y to avoid having to manually input yes/no to install NGINX. We then continue by copying the configuration file we created to the destination directory where NGINX has it’s configurations.
Then we install python3-certbot-nginx so we can have a bot that automatically retrieves a new certificate when it will expire.
We run the certbot and adding the flag --nginx so we tell it will be used to insert config to the NGINX configuration and specify what domain with the -d flag should be used and that we don’t want it to be interactive with the --non-interactive flag as well as --agree-tos to agree automatically and -m for the email that should be used.
If you want to add www. to the domain as well, just add another -d flag and add www.example.com as well as example.com. In this example we are not adding it.
Configure NGINX configuration
Then we create another file that will hold the NGINX configuration called example.com (switch this to your own domain):
server {
    root                /var/www/html;
    index               index.html index.htm index.nginx-debian.html;
    server_name         example.com;
    include             /etc/nginx/mime.types;
}
server {
    if ($host = example.com) {
        return 301 https://$host$request_uri;
    }
    listen              80;
    listen              [::]:80;
    server_name         example.com;
    return              404;
}
Lets break the file down a little what it does. First we define a server block, we will use two server blocks for HTTP and HTTPS. First one will be HTTPS (port 443).
root /var/www/html;
This defines where the root files are located for the NGINX server. This is the default setting when installing NGINX which we will be using in this tutorial.
index               index.html index.htm index.nginx-debian.html;
server_name         example.com;
include             /etc/nginx/mime.types;
Here we define what index file to load from that root directory. We define multiple if we can’t find the first one we look for index.htm and so on. Then we define what the name of the server should be. Here we are changing to the domain we want before running the script. We use include to the nginx mime.types as default setting.
server {
    if ($host = example.com) {
        return 301 https://$host$request_uri;
    }

    listen              80;
    listen              [::]:80;
    server_name         example.com;
    return              404;
}
Here we define the second server block which will listen on HTTP port 80 the standard. But here we will add an if statement which checks if you try go to HTTP you will automatically be redirected to the other server block which serves HTTPS. We don’t want the users use the unencrypted protocol of security reasons.
We can check the configuration is valid by:
nginx -c /etc/nginx/nginx.conf -t
Install NGINX
Now we are ready to install the NGINX server. Let’s set the permissions to the shell script and run it!
chmod +x install_nginx.sh
./install_sh
Confirm the NGINX service is up and running
We can confirm the status by running the command:
systemctl status nginx
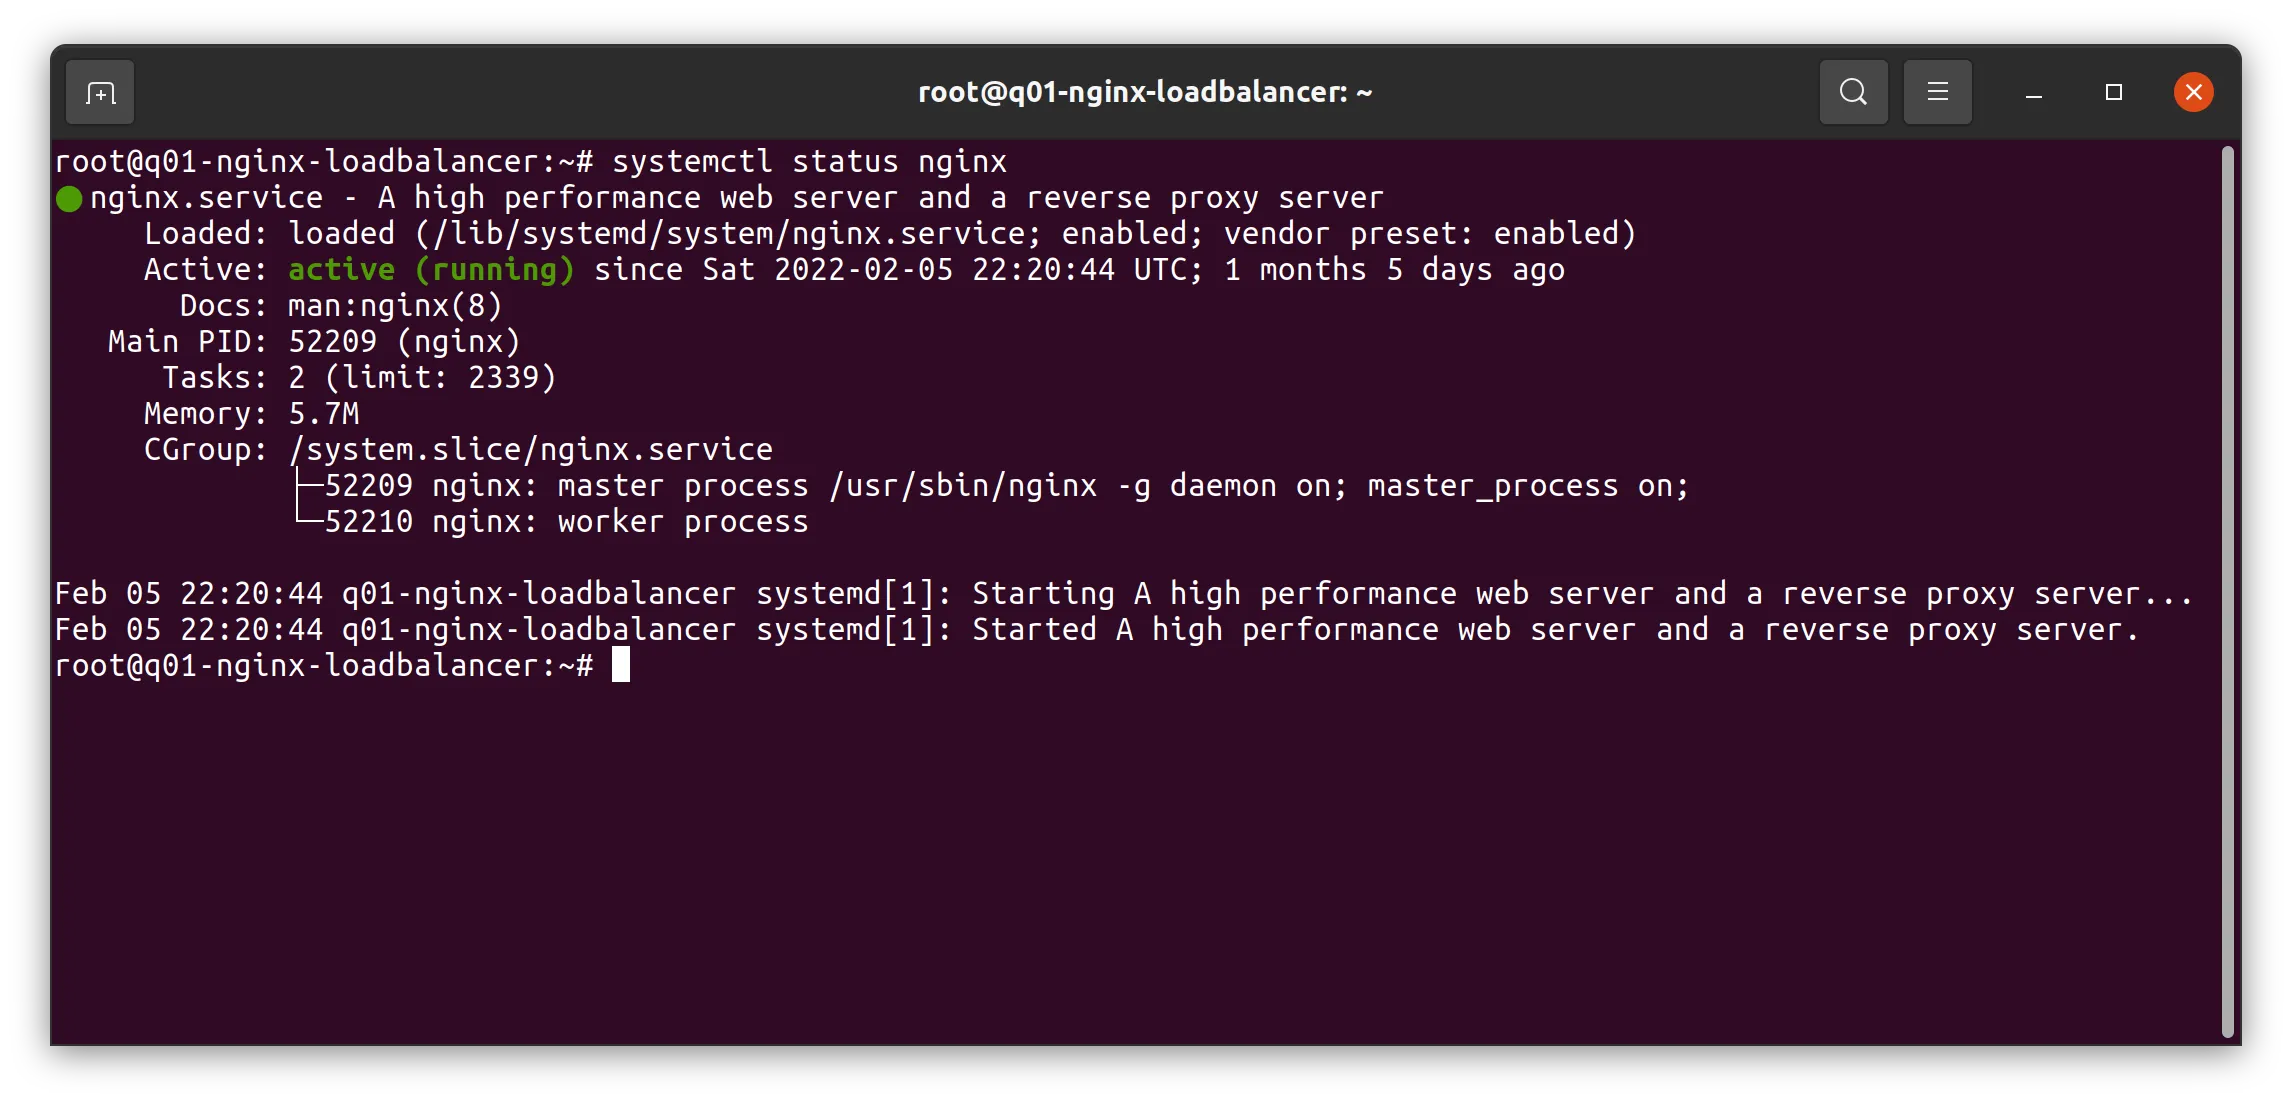
We are up and running. Go to your domain URL and try access it and it should be displayed a default NGINX site using HTTPS. But there is just one small detail we need to fix. Open up the configuration file we added:
sudo vim /etc/nginx/sites-enabled/example.com
Then remove the line with port 80 after include in the first server block. Then run:
sudo systemctl reload nginx
sudo systemctl restart nginx